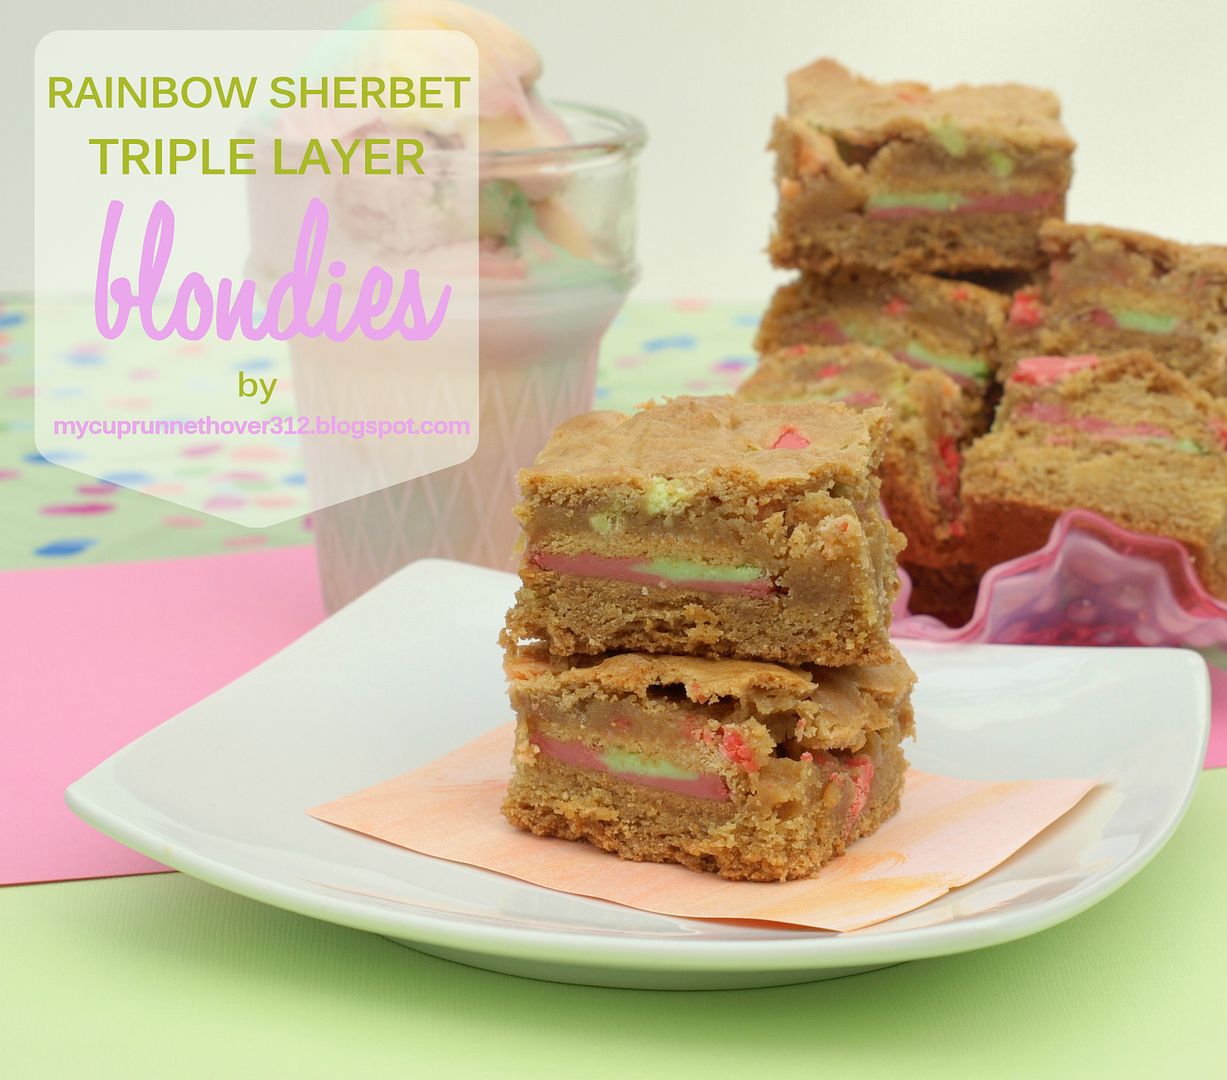
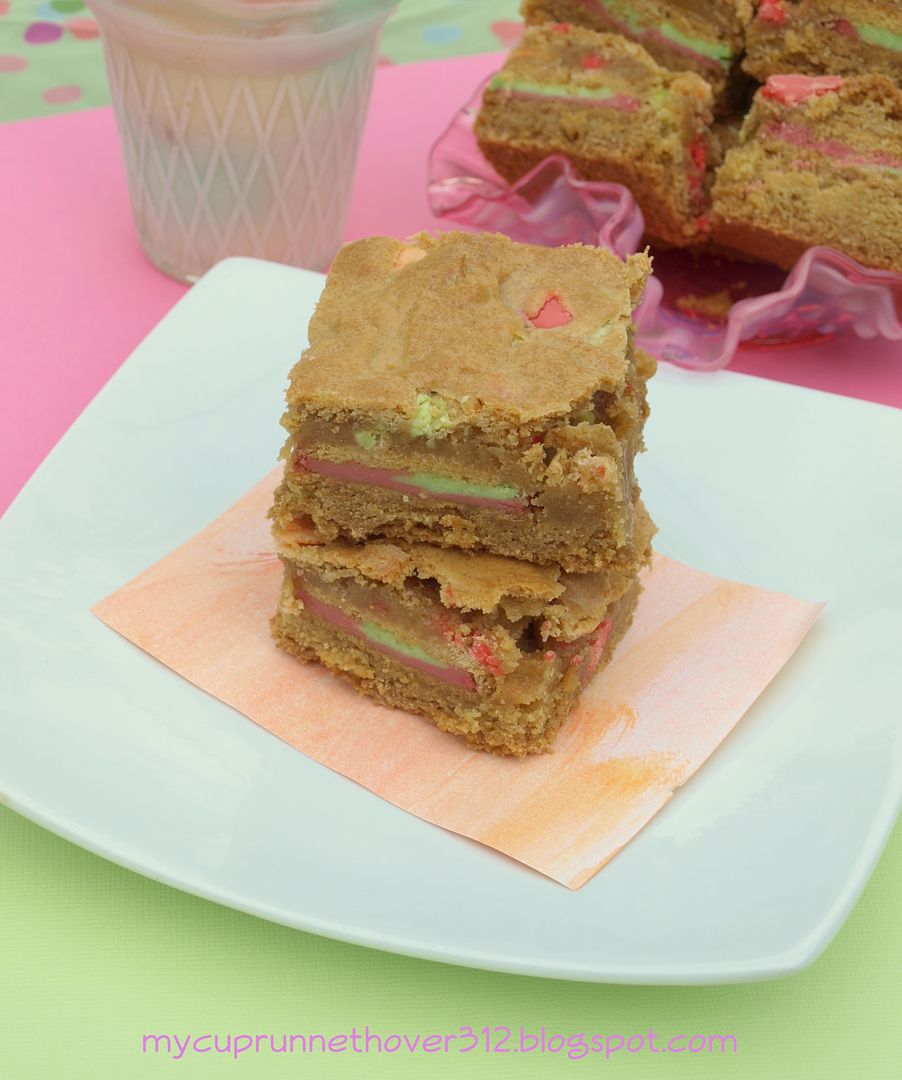
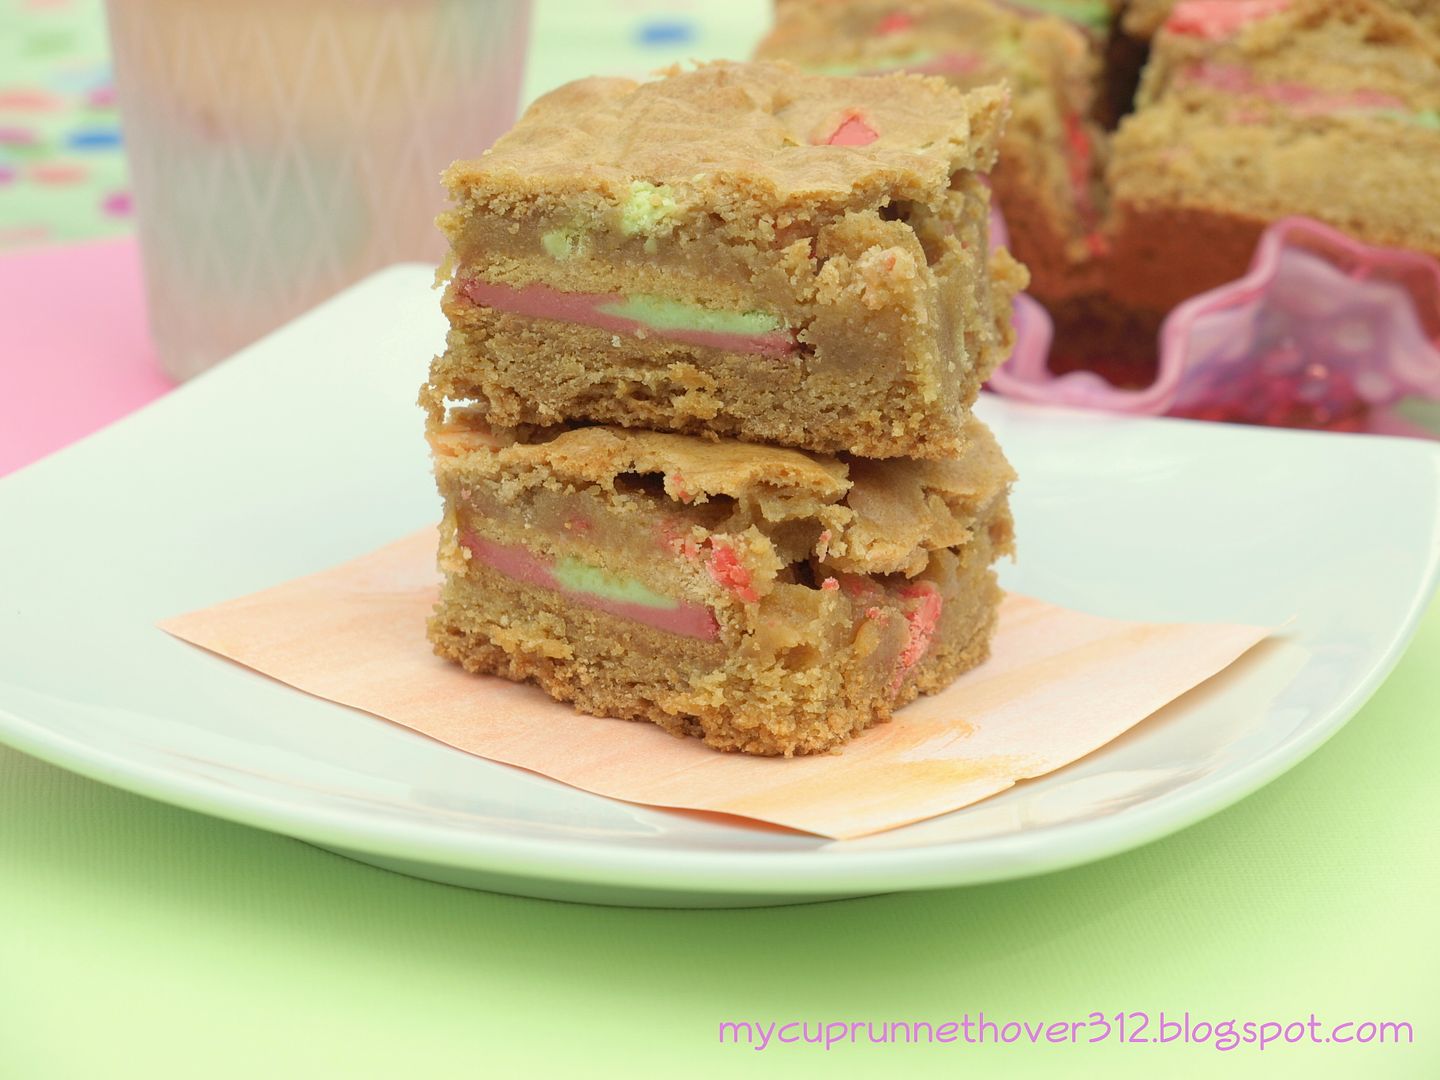
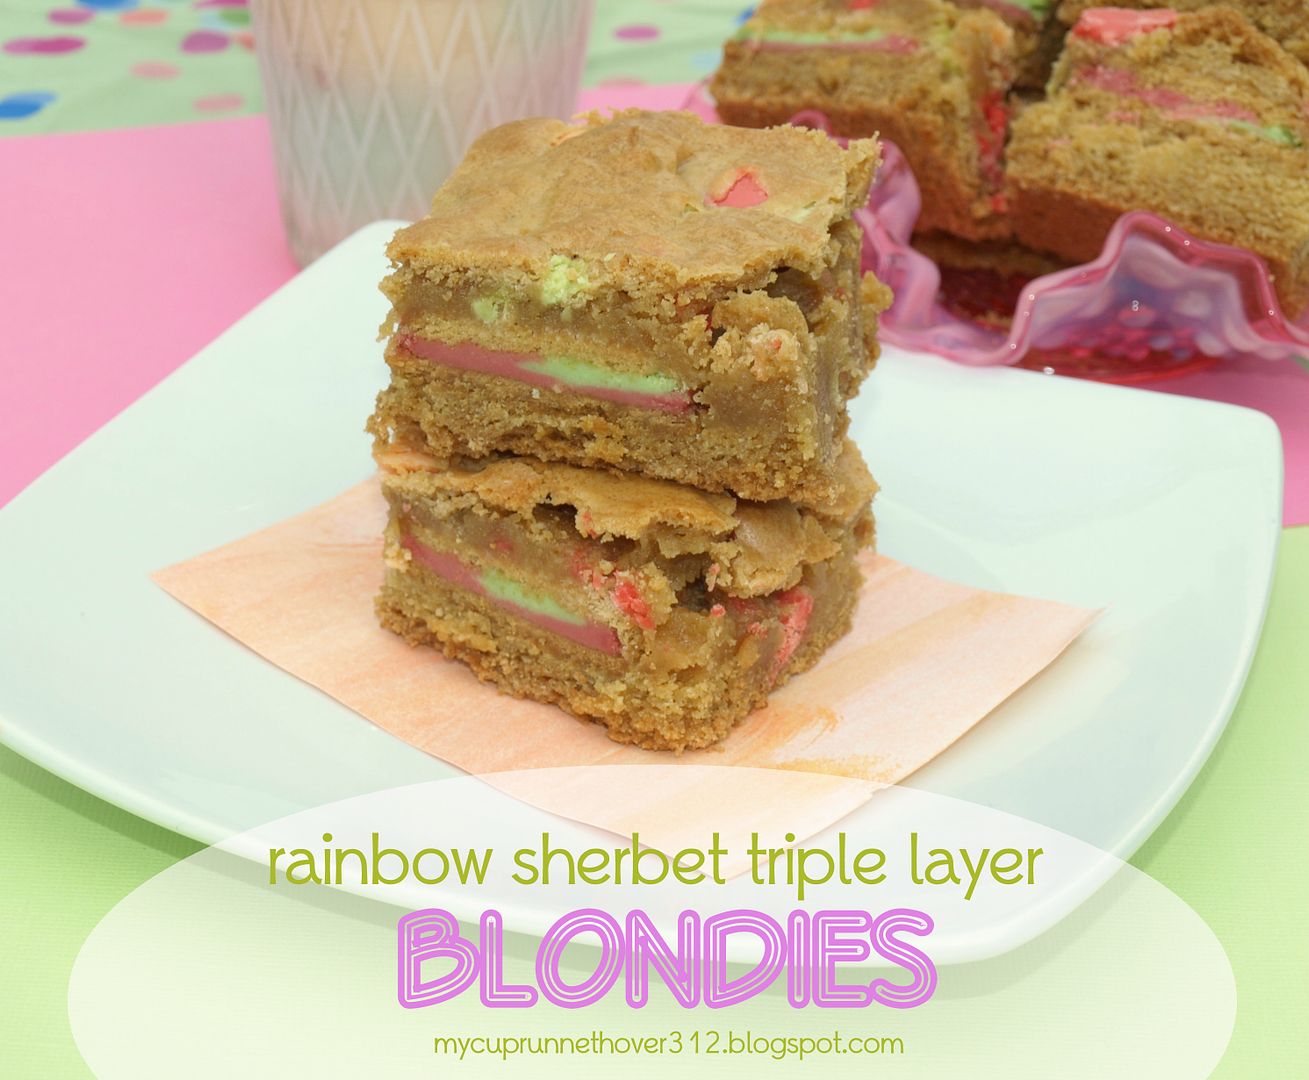
I'm not sure just why this 1 package of Oreo's caused so much inspiration, but my taste testers are certainly happy. (Thanks to the little league ladies!!)
This time around I have jazzed up a blonde layer brownie recipe to make it a bit more "sherbet-ie." Wow, making up my own words now!
I found this recipe over at a new blog: Muffin Top Tuesday. She just starting out, so go on over and give her some bloggy love. Thanks for the recipe Ashley! I changed it up just a bit to fit my theme.
Rainbow Sherbet Triple Blonde Brownies
Bottom Cookie Dough Layer:
1/2 cup butter, softened
1/4 cup brown sugar
3/4 cup white sugar
1 egg
1/2 teaspoon orange extract
1 teaspoon vanilla1 1/4 cup flour
1/2 teaspoon salt
1/2 teaspoon baking soda
1/2 teaspoon baking powder
Oreo Layer:
1 package Rainbow Sherbet Oreos
Top Brownie Layer:
1/2 cup butter
1 cup brown sugar
1 egg
2 teaspoons vanilla
1 cup flour
1/2 teaspoon baking powder
1/8 teaspoon baking soda
1/4 teaspoon salt
1/2 cup, chopped Wilton Melting Chocolates in Key Lime, Raspberry Sherbet and Orange Creme - all mixed together
Instructions:
Bottom Cookie Dough Layer
Using a mixer, cream together both sugars and the butter. Mix in the egg and the orange extract. Using low speed, mix in the dry ingredients: flour, salt, baking soda, and baking powder. Generously spray a 9x9 pan with baking spray. Layer the bottom of the pan with the cookie dough and smooth over. Add a single layer of Oreos placing as many as you can over the cookie dough and pressing in a bit. Set aside.
Top Brownie Layer
Melt the butter in a microwave safe bowl and then pour into a mixing bowl. Add the brown sugar and whisk until combined. Add the vanilla and egg and whisk thoroughly. In a separate bowl, mix together the flour, salt, baking soda, and baking powder. Slowly add the dry ingredients to the wet ingredients and stir until totally incorporated. Mix in the chopped Wilton chocolate melt pieces. Spread carefully over the oreos in the pan to cover the entire top. Bake at 350 for 30-35 minutes.
Another note as well, I was very happy to see that the melts didn't completely turn into liquid. I wanted them to be like chocolate chips and they did hold that way. Cool!
I hope you enjoy! Have a great weekend!
Follow on Pinterest / Like on Facebook


No comments:
Post a Comment